A lot of people ask how to find diamonds in Minecraft, and sometimes they get bad advice. I was reminded of this while watching Kikoskia in his YouTube Let’s Play Minecraft Hardcore. It’s a wonderful series, wouldn’t miss it for the world, and what got me interested in the game in the first place. But yesterday he spent nearly twenty minutes looking for diamonds and didn’t find a single one. That wouldn’t surprise Kiko fans in the least, given his “human randomiser” strategy for exploration.
I’m not just going to show you how to find diamonds in about five to fifteen minutes, I’m going to try to explain and justify the efficiency of the strategy too. It’s for the Pocket Edition by the way, though on the PC things should be much the same. So here’s the condensed version of the two-step guide to finding diamonds:
1) Dig down to a suitable depth – exactly 48 blocks below sea level is good.
2) Dig the smallest tunnel in the straightest line until you find diamonds.
Now to expand on point 1). You might ask “How do I reach exactly 48 blocks down? I always lose count”. Answer: dig to exactly sea level. Then craft exactly 48 compact stair blocks. Create a staircase out of these blocks. Simple, and it’ll make climbing up and down the mine a whole lot easier than with whole-block steps. I’m not sure about the exact figure of “48” by the way – I don’t look up details like this online if I can help it, but it works for me.
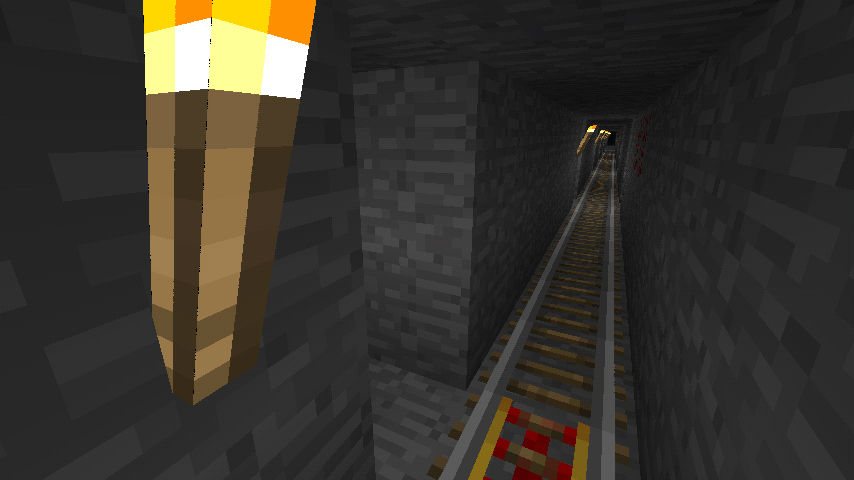
As for point 2). The smallest tunnel is 1 block wide by 2 blocks high. The straightest line means you simply go straight and level, and never deviate to the side or up and down. Put down a torch exactly every 8 blocks, always to the same side so you can tell later whether you’re coming or going. To avoid losing count, always ignore any goodies you uncover until you’ve made your 8 steps, then go back and dig them out. I always backfill when I dig out the ores – it stops monsters spawning in the cavities, and stops the mine turning into Swiss cheese.
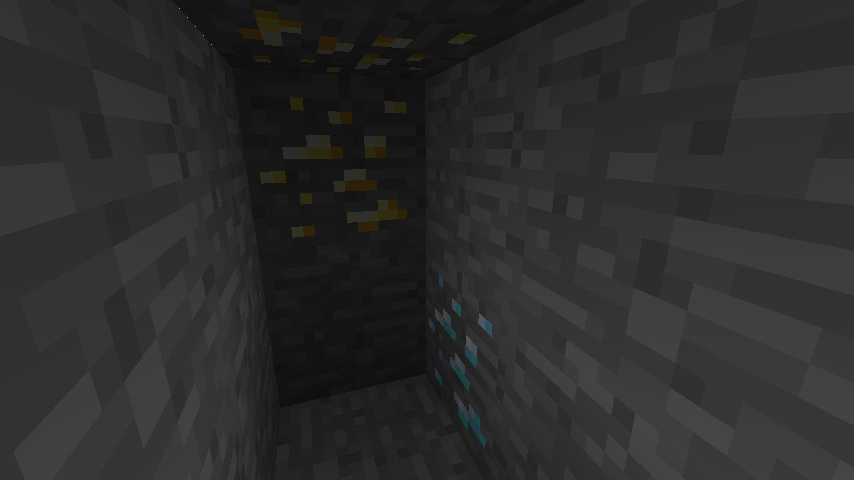
After putting down a maximum of 32 torches you’ll have reached the edge of the map. On average you’ll find diamonds (or gold) about every 200 steps, with an average of perhaps 5 blocks per deposit. The screenshot below shows a rare example of discovering gold and diamond at exactly the same moment – believe it or not it’s what actually happened when I went to get pictures for this article. But there’s a fair chance you’ve come up empty handed. What now?
Answer: dig new tunnels at right angles to this first one, exactly every 8 blocks, right by where you put down the torches. Keep grinding away till you’ve got what you want. Always use the best equipment by the way – stone picks went out with the, er, Stone Age. See below for a mine where the tunnels have been dug out to the left.
Why this dimension of tunnel? Digging a 1×2 block tunnel uncovers 8 fresh new blocks for each 2 blocks removed (2 to each side, 1 above and below, 2 straight ahead), or a 4:1 ratio. That’s the maximum you can practically achieve, and means you get the most use out of your tools and time.
Why space the tunnels 8 blocks apart? It’s a good compromise. The idea is to mine out an area thoroughly while exploring as much new ground as possible, that is without “discovering” the same deposit twice.
What do you do when you’ve mined the whole level with these long thin tunnels 8 blocks apart? You dig new tunnels exactly half way between them, that is 4 blocks apart. And when you’ve dug all these? Go down exactly 4 blocks and start the whole thing all over again.
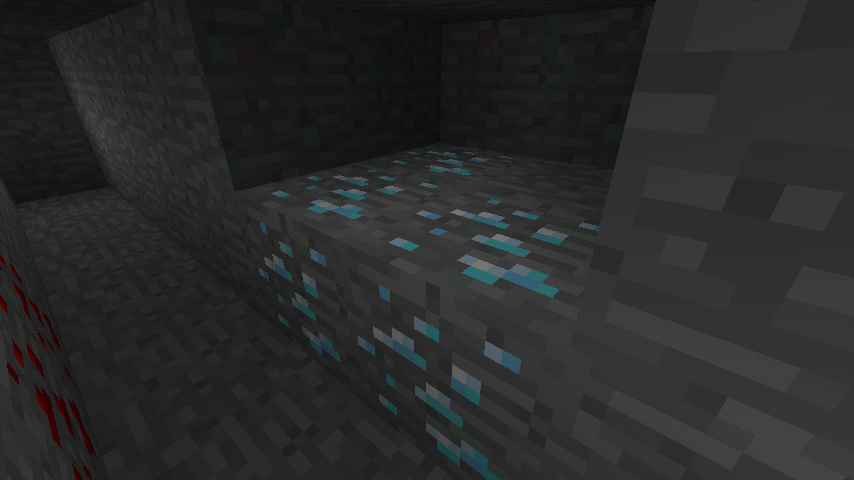

What’s the logical justification for this method? How can we show it uses little effort while being unlikely to miss anything of value. Each deposit of diamonds (or gold) is based on a 2×2 block floor plan. There is usually a second layer on top, making 2x2x2. Sometimes there’s a third layer too. See above for an example. They all seem to be in this pattern, though I suppose two deposits could overlap confusing things. To simplify, suppose we are looking for the 2×2 “Battenberg cake” vertical slice through a deposit as shown in the diagram below. Actually the deposit will be made of two slices, improving our chances of finding it, but each slice will probably not be complete thus reducing our chances. Then again, there’s the cases where there’s a third layer, again improving our chances.
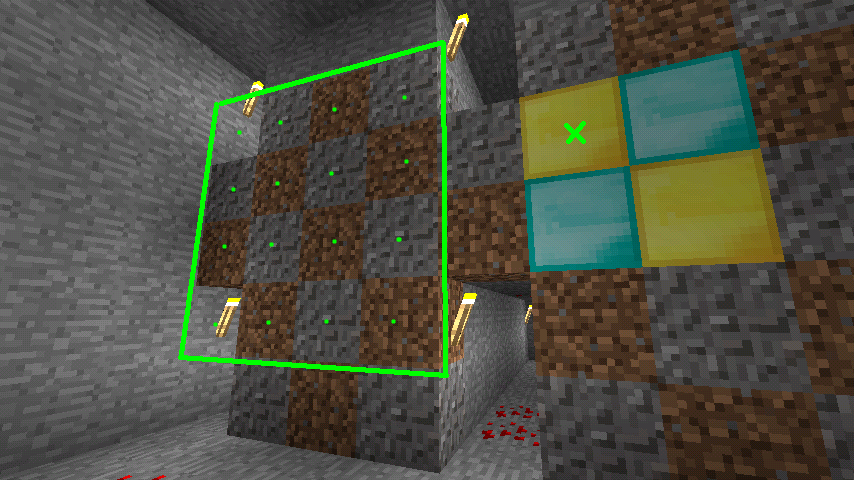
Suppose we’ve been tunnelling into the screen. The screenshot shows a section through the mine. Notice there is a repeating pattern, 4×4 blocks square, of which only 2 have been dug out. So suppose we are looking for a slice like the one to the right, but it could be anywhere. What are the possibilities for its position? Imagine moving the slice so the small green cross matches the position of any of the dots. Allowing for the repetition of the tunnel pattern there are 16 distinct dots where the slice could be. Notice that only 2 of these have no blocks of the slice exposed in the tunnels where we can see them (the position where you see it now is one such). Therefore you will spot it 87.5% of the time, despite only having dug out 12.5% of the blocks.
I hope that makes things clear. If the explanation wasn’t clear, I hope at least the method was. Happy diamond hunting!